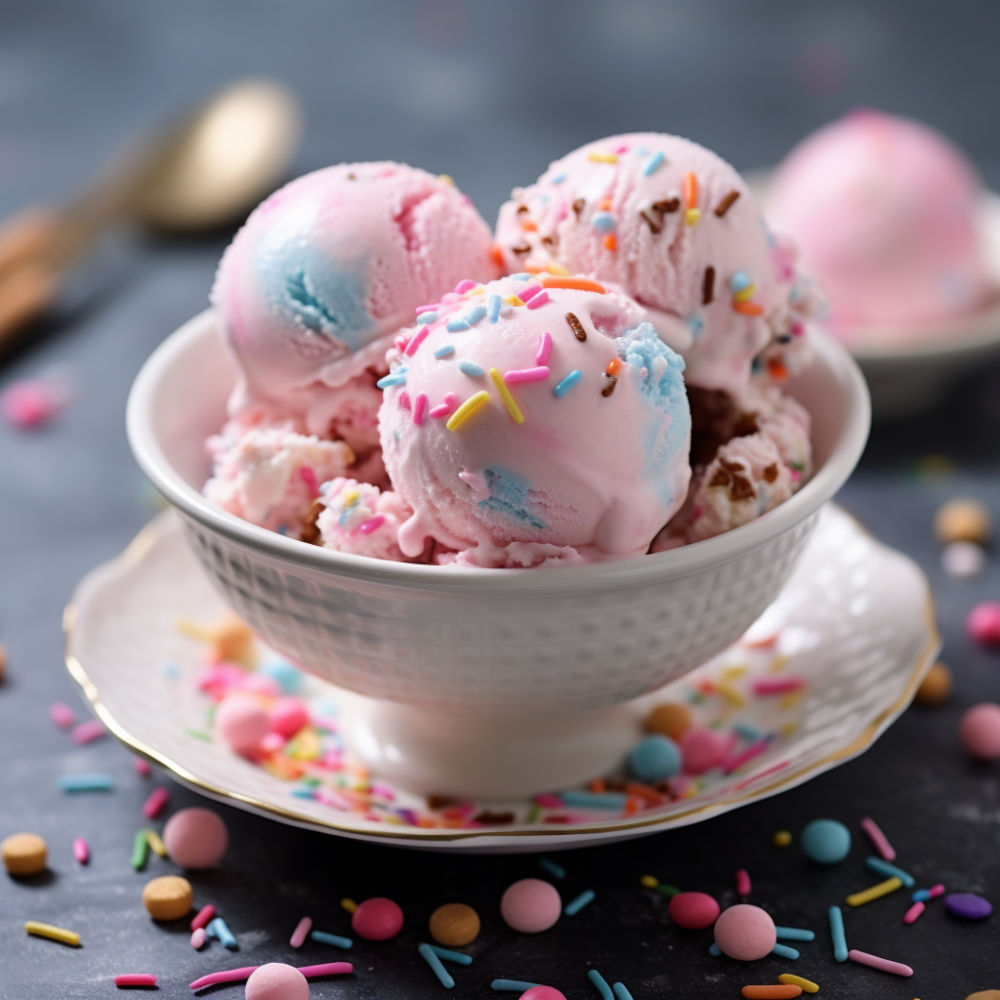
No-Churn Fairy Floss Ice Cream Recipe
Fairy floss ice cream combines the nostalgic charm of cotton candy with the creaminess of homemade ice cream.
This recipe is the easy way to make a whimsical, colourful treat without an ice cream machine. It’s perfect for parties, special occasions, or a unique dessert experience.
Be sure to also check out my recipe for rainbow ice cream or this cookie monster ice cream.
What you need
Sweetened condensed milk: This is a helpful ingredient for making ice cream without fancy equipment. It helps the frozen dessert keep a nice smooth texture.
Food colouring: Gel food colouring is best for vibrant colour intensity. For the cotton candy effect, pink and blue work well.
Fairy floss flavouring: It’s also called candy floss or cotton candy flavouring, depending on what part of the world you’re from. Check out party supplies or specialty chef stores. I’ve also spotted it in Spotlight stores.
Glucose syrup: You don’t have to use this syrup, but it helps keep the ice cream soft and scoopable.
Cotton candy: a little cotton candy is a fun way to top this ice cream. Add it just before serving, or it will melt into a brightly coloured puddle on the ice cream within seconds!
How to make fairy floss ice cream
- Place your storage container in the freezer to cool it down.
- Split the sweetened condensed milk between two separate bowls. In one bowl, stir in the blue food colouring and the pink food colouring in the other.
- Combine the glucose syrup with two tablespoons of cream in a small microwave-safe bowl. Heat the mixture five seconds at a time until it’s just warm, then mix well.
- Pour the remaining cream into a different bowl or a stand mixer. Mix at a low speed and gradually incorporate the warm glucose syrup mixture and the cotton candy flavouring. Increase the mixer’s speed and continue whipping until the cream forms stiff peaks.
- Evenly distribute the whipped cream into the two bowls of coloured condensed milk. Fold it in gently to maintain as much air in the mixture as possible.
- Layer the two mixtures in your chilled storage container. Alternate adding a bit of each to mix up the colours a little. Seal the container and freeze for at least four hours or until hardened.
- Serve by itself or with a sprinkle of cotton candy on top.
Best toppings for cotton candy ice cream
This ice cream is delicious on its own, or try it with one of the following fun toppings:
- Confectionery: Go nuts adding extras like gummy bears, marshmallows, popping candy, and chocolate chips.
- Mini meringue kisses: These light, airy treats add a delightful crunch and a sweet burst to each bite.
- Crushed candy canes: Especially great for a festive twist, adding a bit of minty crunch.
- Fruit syrup drizzle: Like raspberry or mango syrup for a tangy contrast.
- Chopped nuts: Such as pistachios or almonds, for some extra crunch.
- Cookie crumbles: Oreo or shortbread crumbles are excellent for practically any ice cream.
- Sprinkles: Stick to the party theme and add even more colour!
How to store
Store candy floss ice cream in a freezer-safe container for up to two weeks. The longer you keep it stored, the icier and less scoopable it will become. Keep it at the back of the freezer to reduce temperature fluctuation.

No-Churn Fairy Floss Ice Cream Recipe
Ingredients
- 397 g Condensed Milk
- Several drops Food colouring (blue and pink)
- 500 ml Thickened Cream
- 1 1/2 tsp Glucose syrup
- Several drops Fairy floss flavouring
Instructions
- Place your storage container in the freezer to cool it down.
- Split the sweetened condensed milk between two separate bowls. In one bowl, stir in the blue food colouring and the pink food colouring in the other.
- Combine the glucose syrup with two tablespoons of cream in a small microwave-safe bowl. Heat the mixture five seconds at a time until it's just warm, then mix well.
- Pour the remaining cream into a different bowl or a stand mixer. Mix at a low speed and gradually incorporate the warm glucose syrup mixture and the cotton candy flavouring. Increase the mixer's speed and continue whipping until the cream forms stiff peaks.
- Evenly distribute the whipped cream into the two bowls of coloured condensed milk. Fold it in gently to maintain as much air in the mixture as possible.
- Layer the two mixtures in your chilled storage container. Alternate adding a bit of each to mix up the colours a little. Seal the container and freeze for at least four hours or until hardened.
Notes
- If you want a more intense colour, add extra drops and stir until you get the desired shade. Remember, it will lighten once the cream is added.
- Serve the ice cream by itself or with a sprinkle of cotton candy on top.
- Don’t skip chilling the freezer container before getting started.


